Looking to start making bread but not sure where to start or if you can even do it? You can, I promise. Let’s learn how!
Over the holiday break, I decided to try to learn how to make bread. I really enjoy adding a new practical skill to my dusty old merit badge sash from time to time. 😆 In my research, I found that a lot of people reported that starting with a no-knead bread was a great way to ease into the skill, while also learning about what bread is. The more you understand about the science of bread, the better you can adapt and create your own recipes that respond well to your home kitchen’s equipment, environment, and most importantly – your taste!
Here’s my go-to no-knead bread recipe that I have tweaked over the past few weeks. It turns out consistent every single time for me. Feel free to give it a try and make any tweaks you feel like it needs for your own use.
What do I need to get started?
You don’t need anything fancy for this recipe and don’t let the yeast intimidate you – it’s the easiest part of the whole recipe. I have included any relevant links and videos within the recipe for those of you who like to really dive in and research a hobby like I do. Happy rabbit-holing! 🐰
One more very important note: I have written the instructions with people like myself in mind. People who might have a little neuro-spicy situation going on and/or people who don’t fully read through instructions before starting a project, BUT, I really do encourage you to read the entire recipe first because I have also turned it into a little choose-your-own-adventure! You can use this same, simple recipe to make at least nine different types of bread and you can choose between two different cooking methods. Need some cheesey garlic bread to go with spaghetti? How about some rustic Italian bread for date night? Like our chosen families, bread can absolutely meet you where you are. Plus, cooking should be fun!
Is there something I can print? I really need to print.
Yep, I’ve got you covered. Just in case you like to print your recipes and put them on the fridge (or laminate them and store them in a magnetic file folder on the side of the fridge like me 😂), I created a two-page PDF that can be printed front and back. I couldn’t fit it on an index card, sorry.
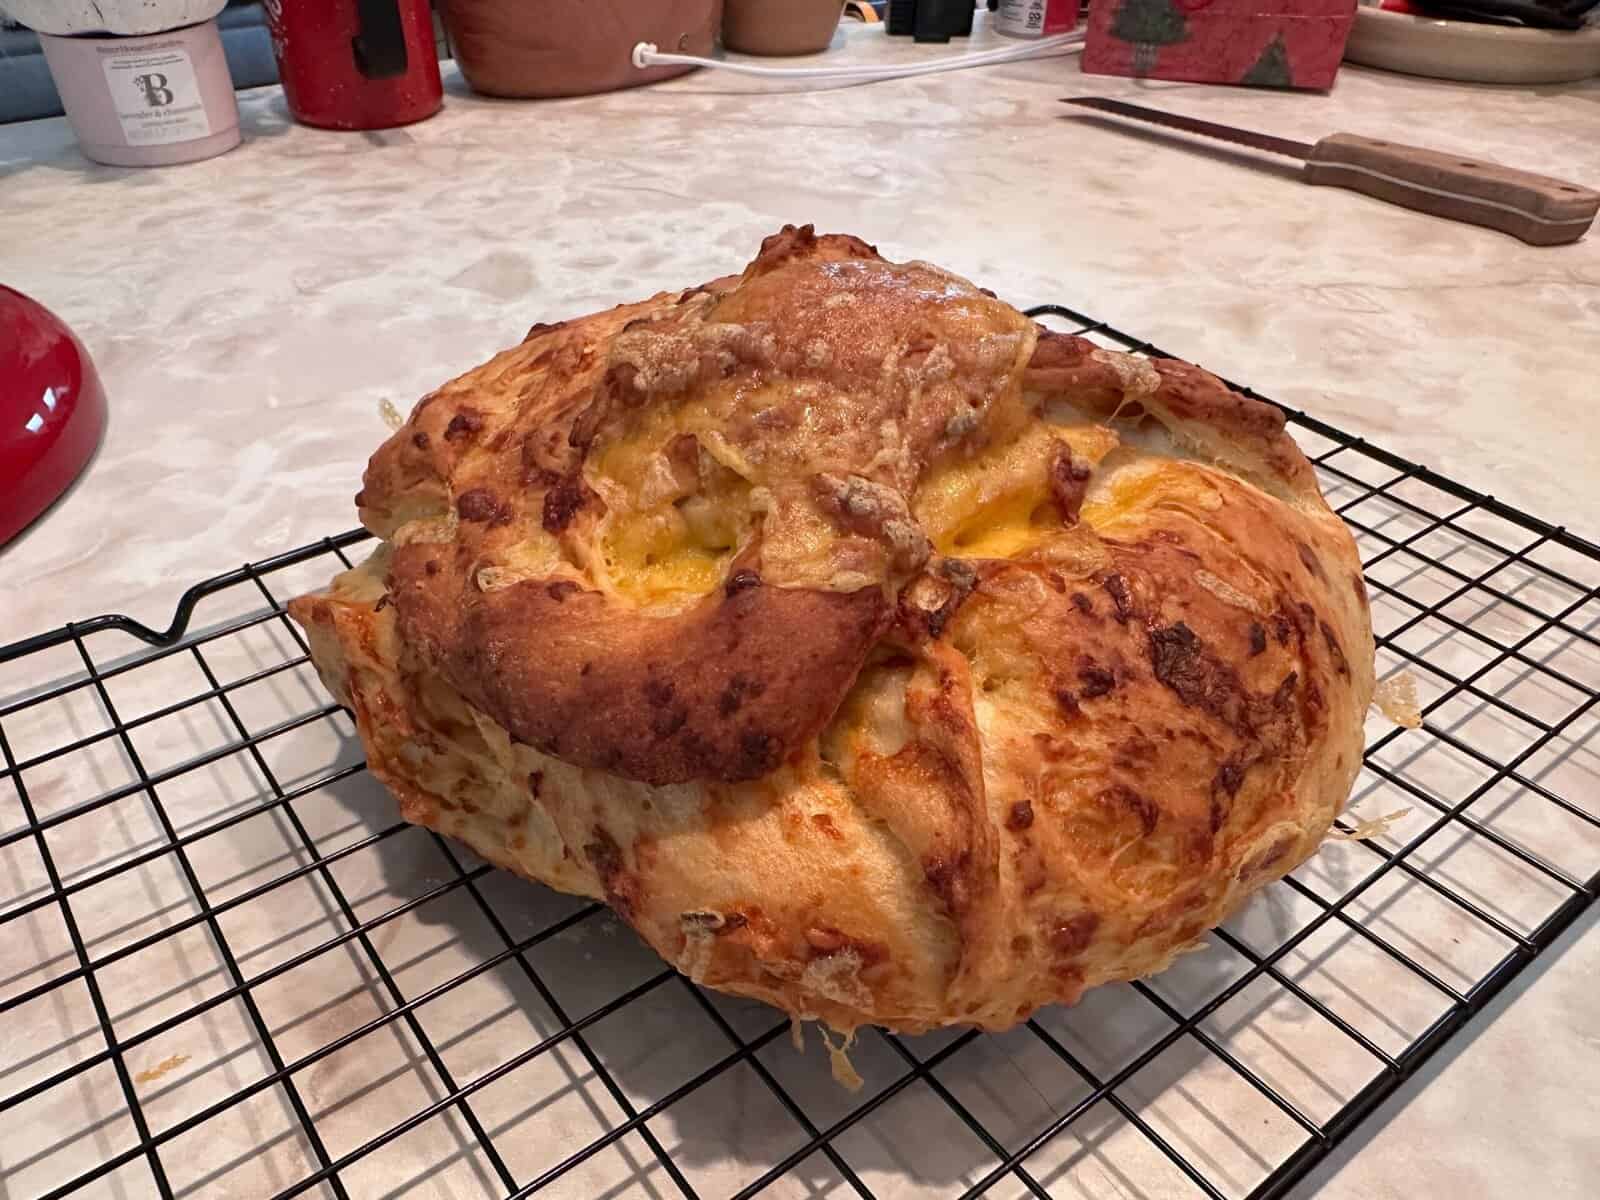
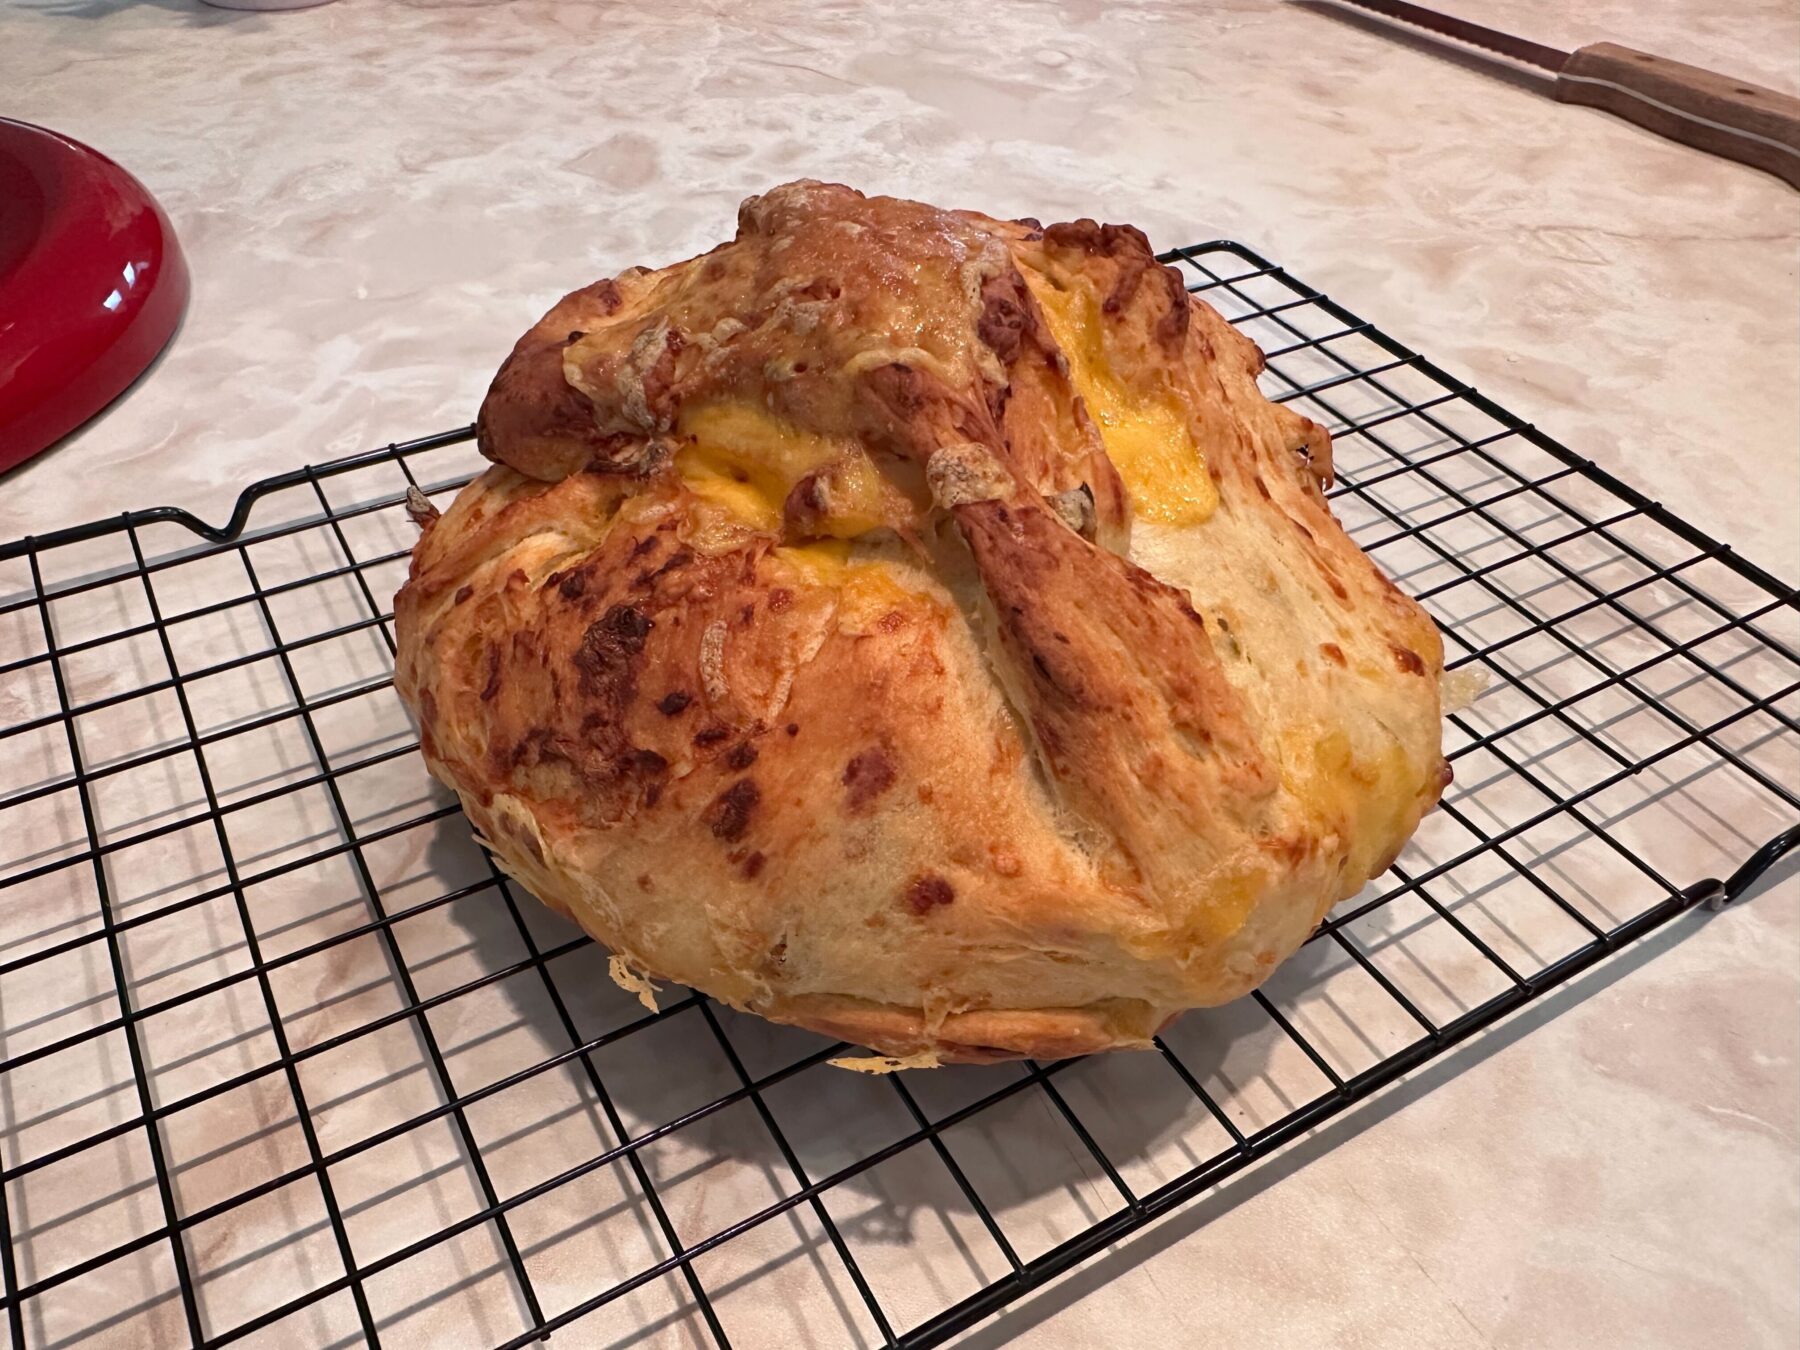
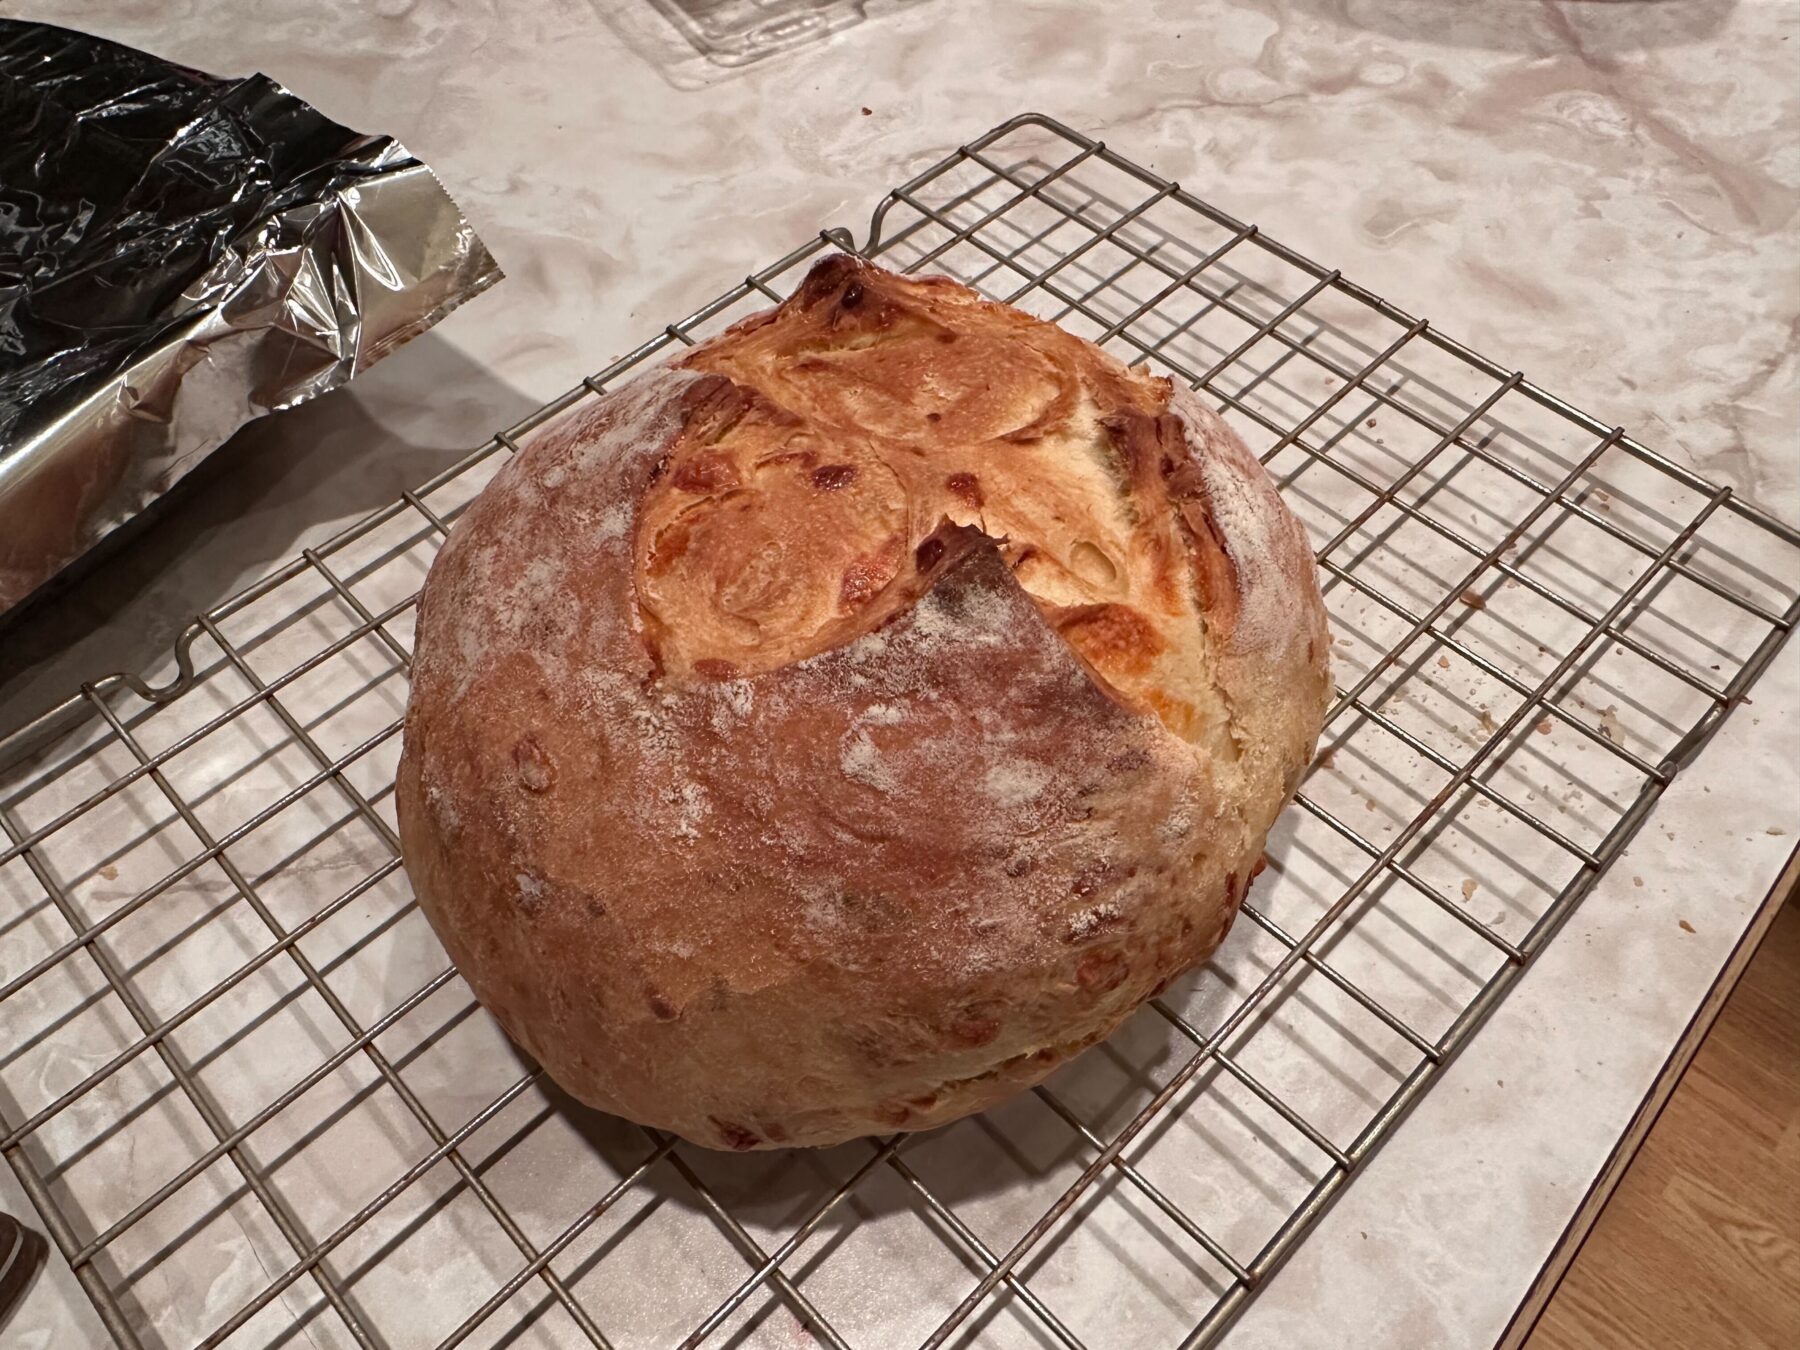
So, what will my bread ideally look like at the end of this?
Remember, no two breads are alike. Some are innies, some are outies, some are brown, some are orange, some have dimples, some have beautiful curves, and some look a little small. Just don’t judge your bread too harshly until you cut it open, add a little butter, and have a moment to enjoy the aroma and texture of fresh, warm bread. A well-cooked bread will have a crust that has a good satisfying, hollow-ish “thump” when you give it a good thump with your fingers. Take notice of the sound it makes and remember that when you see how well done the center is. That will teach you to know when it is ready. You can also use a cooking thermometer to make sure the center is 210º if you really get into the geekery of it all. I prefer to feel my way around things since I’m more of a sensory learner.


The Ingredients:
Wet:
- 1 cup warm water (100-110º)
- 3 tbsp olive oil
Dry:
- 2.5 cups of bread flour (you can substitute all-purpose flour but allow for a longer rise time)
- 1 packet of active dry yeast (or 7 grams or 2 .25 tsp)
- 1 tbsp sugar
- 1 1/2 tsp salt (don’t forget the salt!)
Choose the garlic:
- 1 tbsp garlic powder + one head of roasted garlic (see below) OR
- 2 tbsp garlic powder OR
- 2 tbsp freeze-dried garlic (this seems to work best) OR
- choose your own OR
- none
Choose the herbs:
- 1 tbsp chopped fresh, freeze-dried, or dried rosemary OR
- 1 tbsp thyme OR
- 1 tbsp oregano OR
- 1 tbsp blend of rosemary, thyme, and oregano OR
- choose your own OR
- none
Choose the cheese:
- 1.5 cups of shredded cheese OR
- 1 cup of shredded parmesan cheese OR
- a blend OR
- choose your own OR
- none
Instructions:
Never roasted garlic? Here’s how:
Chop off the top of a garlic head, drizzle olive oil onto the garlic cloves, season with salt, put the top back on, wrap in aluminum foil, and bake in the oven at 400º for 40 minutes.
The Yeast:
First, proof the yeast by mixing dry active yeast and sugar in a small bowl. Add in warm water and stir well. Allow to stand for 10 minutes. Yeast should activate and become frothy on top, if not, your yeast has expired and will need to be replaced.
The Dough:
While the yeast is proofing, in a larger bowl (cannot be plastic), mix dry ingredients, all of your garlic (if using), all of your herbs (if using), half of your cheese (if using), and create a well in the middle of the bowl. A well is a small indention in the middle of your dry ingredients, much like a bowl to pour your wet ingredients into. I like to use the underside of my one-cup measuring spoon to create it. Set this aside.
After the yeast proofing is complete, add the olive oil to the yeast mixture and stir gently, then immediately pour this into the dry ingredients. Use a rubber spatula to slowly combine the dry and wet ingredients, then switch to using your hands to press it all together.
Once everything is incorporated, the dough will be tacky but not sticky. If all of the dry mixture will not blend well, you can add a very small amount of water until it does. Remember, you want a tacky dough, but not sticky. Also, remember that the next step will add a bit of flour as well.
Sprinkle a light dusting of flour over a clean dry surface. Transfer the dough on top of the flour and form the dough into a boule (a dough ball) by folding the edges of the dough under the center. It’s not as complicated as it sounds once you do it the first time. Here’s a video of this process:
Use olive oil to lightly grease the same large bowl you used to mix the ingredients and drop the boule into it. Cover with plastic wrap or a lid and let the dough rise until it has doubled in size. Pick a warm, dry, and safe area for your bread to rise. You don’t want a kid or pet knocking into it and popping it.
This should take anywhere from 1 to 3 hours. The time it takes to rise will be affected by the altitude and humidity of your location, as well as which flour you use. (For reference, I live on the Oregon Coast and it takes a little less than an hour with King Arthur Bread Flour in a home with a constant 45% humidity.)
When the dough has doubled in size, uncover, smack to deflate (Hey, I meant like an encouraging attaboy smack, not a corporal punishment smack!), and transfer to a flat surface that has been lightly dusted with flour. Add the rest of your cheese (if using) and once again form into a beautiful boule.
Place an oversized sheet of parchment paper into a bowl so that the paper is larger than the bowl, drop the dough ball into the parchment-lined bowl, (cut a decorative slit or two on the top if you’d like), cover with a kitchen towel, and let rise a second time for 30-45 minutes. It won’t double in size this time but it will be noticeably larger. We are using parchment paper so that you don’t have to grease your cooking vessel. There’s a bit of an art to getting that right for bread and we can learn that later for making sandwich loaves and such where it is a more appropriate method. For now, let’s keep the number of steps, and dirty dishes, to a minimum.
Cooking:
With a dutch oven:
Note: while you don’t need to cook this bread in a dutch oven at all, I have found that it comes out better this way for me personally. The taste is not noticeably different, but it is the easiest of the two methods and I get a very consistent crust this way. The goal is to create an environment with steam so that the bread forms an amazing, airy texture and a hard, rustic crust that pops open due to the steam. With this method, you don’t have to add any extra water to the oven as the water within the dough will get captured by the dutch oven.
While the dough is rising again, preheat the oven with an empty dutch oven in it at 425º.
This is the dutch oven that I use.
Once the dough has risen a second time and the dutch oven is preheated, remove the lid with the pot holder, then use the parchment paper as handles to carefully put the dough into the dutch oven without burning yourself.
Put the lid back on with pot holders and place in oven to bake for 30 minutes covered.
After 30 minutes, remove the lid and decide if you want to let it bake uncovered a few minutes longer to achieve the desired level of golden brown. Do not overcook the bread!
Keep an eye on it, because it won’t take long. Five minutes makes a huge difference at this stage.
Without a dutch oven:
While the dough is rising again, place a bowl or tray of hot water at the bottom of the oven. This creates steam which in turn creates a wonderful top crust that this bread is known for. Preheat the oven with an empty pot, pan, or tray in the middle rack at 400º. You can use any cooking vessel that will allow room for the bread to expand.
Here are a few examples:
- https://www.amazon.com/Wilton-Advance-Select-Premium-Non-Stick/dp/B09YZ44HC1/ref=sr_1_5?crid=3FWG44H948PDN&keywords=bread+loaf+pan&qid=1705117904&sprefix=bread+load+pan%2Caps%2C172&sr=8-5
- https://www.amazon.com/Farberware-Nonstick-Bakeware-9-Inch-Round/dp/B00008W70G/ref=sr_1_4?crid=RQP1RCW9IAEQ&keywords=bread%2Bbaking%2Bpan%2Bround&qid=1705117994&sprefix=bread%2Bbaking%2Bpan%2Broun%2Caps%2C153&sr=8-4&th=1
- https://www.amazon.com/Baocuan-inch-Silicone-Round-Cake/dp/B0CGHZXP6G/ref=sr_1_2?crid=RQP1RCW9IAEQ&keywords=bread+baking+pan+round&qid=1705117994&sprefix=bread+baking+pan+roun%2Caps%2C153&sr=8-2
- https://www.amazon.com/Instant-Pot-5252321-Official-7-Inch/dp/B07WRM6NJG/ref=sr_1_15?crid=RQP1RCW9IAEQ&keywords=bread%2Bbaking%2Bpan%2Bround&qid=1705117994&sprefix=bread%2Bbaking%2Bpan%2Broun%2Caps%2C153&sr=8-15&th=1
Once the dough has risen a second time and the oven is preheated, use the parchment paper as handles to carefully place the dough into the pan without burning yourself.
After 30 minutes, check to see if you need to add a few minutes longer to achieve the desired level of golden brown. Do not overcook the bread! Keep an eye on it, because it won’t take long. Five minutes makes a huge difference at this stage.
Cool, Cut, and Serve!
When you take the bread out of the oven, use the parchment paper to take it out of the pan, slide the bread onto a cooling rack, and let the bread cool at least 30 minutes before cutting into it. Do not cover or store your bread until it has fully cooled to the center or it will get soggy and spoil earlier than it should. A dry, room temperature bread is a very happy bread.
Enjoy with or without some salted butter! Welcome to bread making! It’s so much fun.